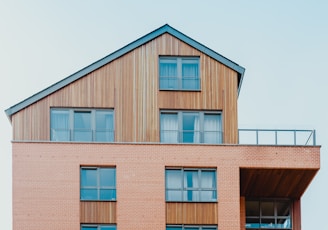
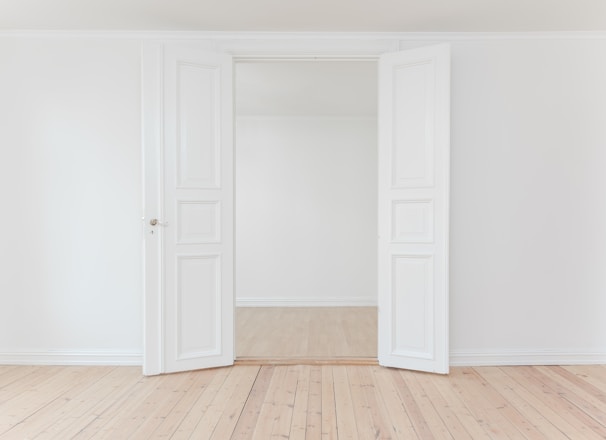
Transforming Homes
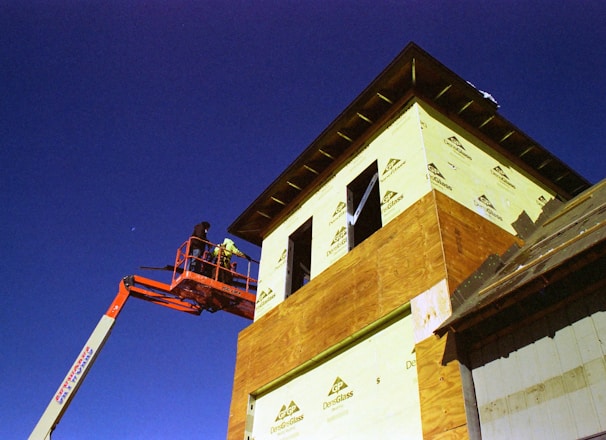
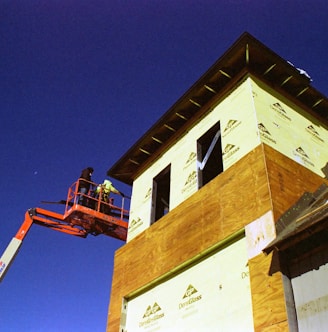
Creating modern spaces with decades of experience in remodeling and building new homes
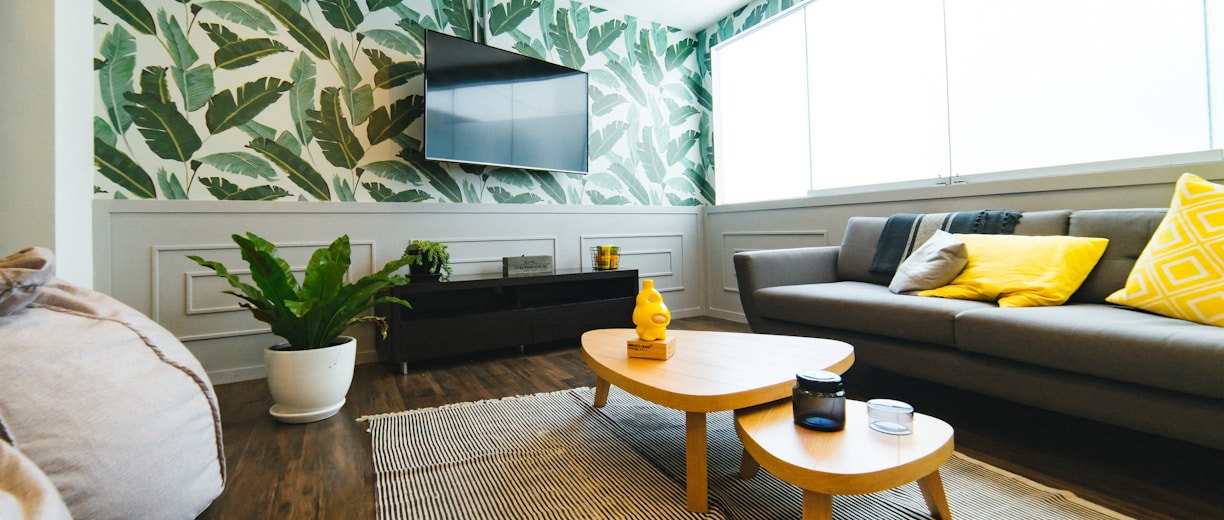

Passionate about remodeling homes to a more modern look and feel with decades of experience
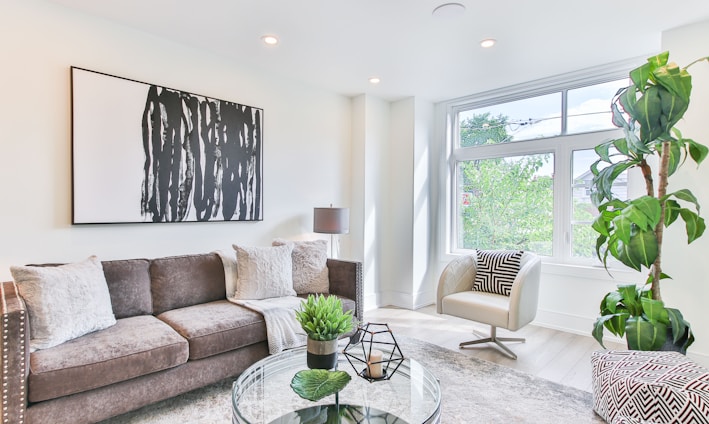
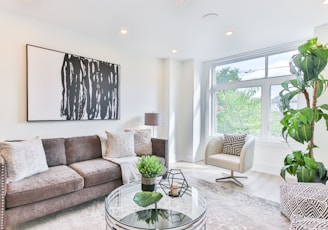
Providing remodeling and construction services for a more modern and stylish home
Referral Services